

 111
111
If you need to send an urgent eBlast and your listing hasn’t yet synced to ActivePipe, you can manually create a custom property email.
⚠️ Preferred Method: Whenever possible, sync your listing from APT to ensure correct formatting and branding. For help with sync delays, contact [email protected].
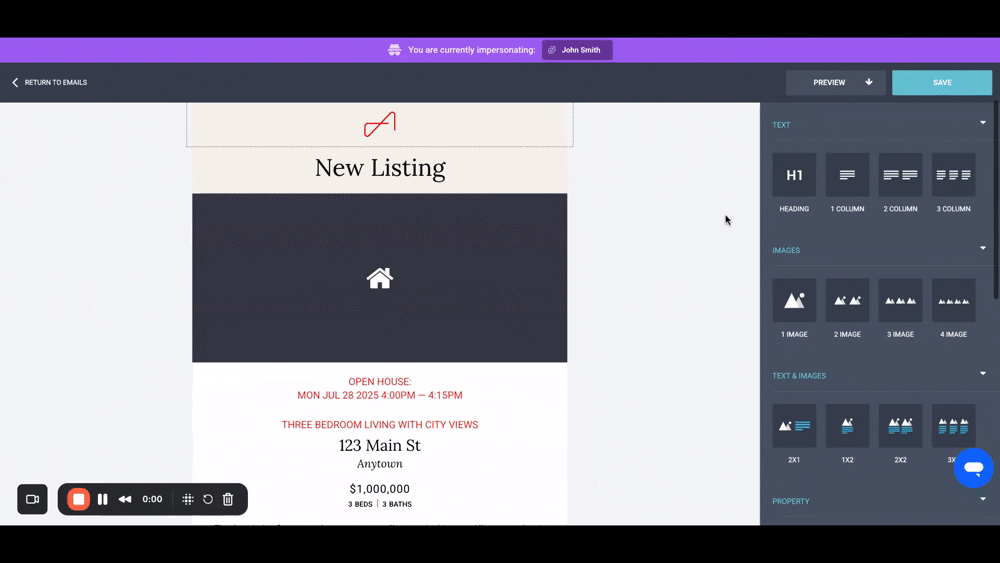
1. Start a New eBlast
-
Choose your desired template.
2. If using the Single Property template (Feature format):
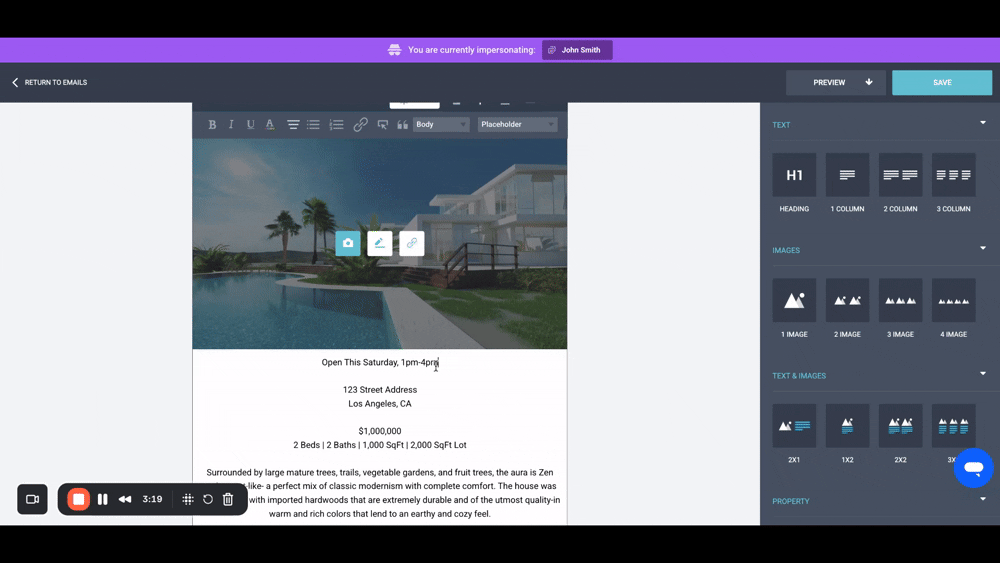
a. Add a new image-text panel
-
Drag a “1x2 Text & Image” panel below the default property panel.
-
Select the entire panel and click “Edit” on the top blue toolbar.
-
Set Image Inset and Padding to 0.
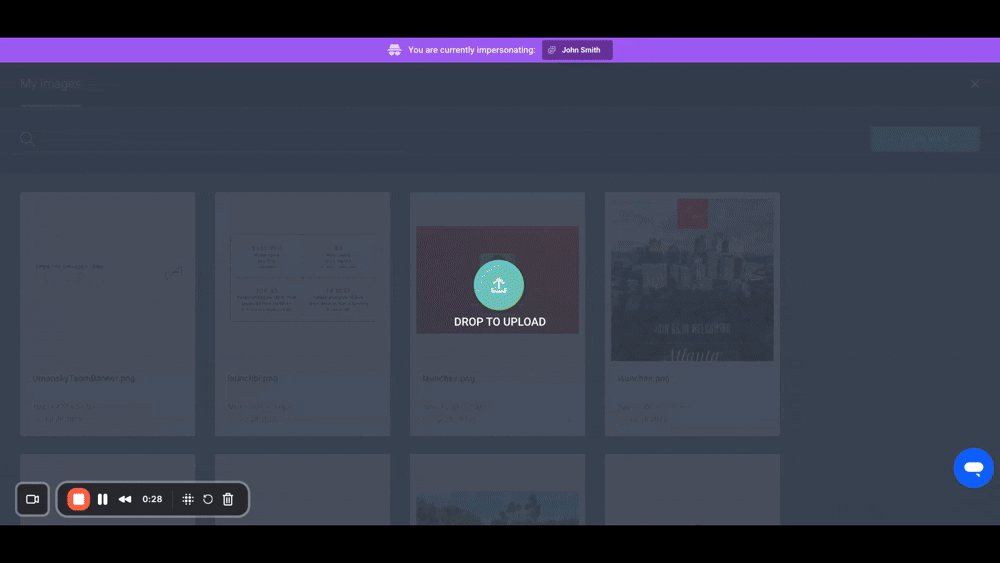
b. Upload and link the listing photo
-
Click into the image area and upload a photo to your Image Library.
-
Hyperlink the image to your property’s page on the Agency website.
c. Add listing details in the text box using this format:
-
Headline – Subheading 2, Red
-
(Blank line)
-
Street Address – Header 2
-
City or Neighborhood – Header 3, Italics
-
(Blank line)
-
Price – Subheading 1, Black
-
Stats (e.g., 3 Bed, 2 Bath) – Subheading 3, Black
-
(Blank line)
-
Description – Body
-
Request A Private Showing – Fine Print, Bold + Underline, Red
-
(Optional: hyperlink to your agent page)
-
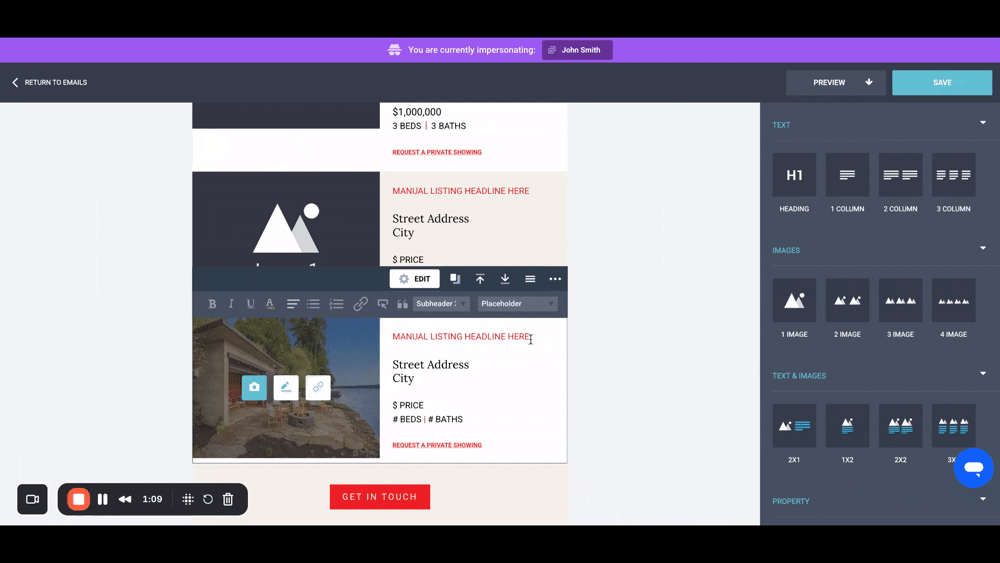
3. If using the Multi-Property or Newsletter template (List format):
a. Choose your panel
-
Scroll to the Property section at the bottom.
-
Choose a Text & Image panel with either a beige or white background, depending on your preference.
b. Upload and link the listing photo
-
Click the image area (left column) and upload a listing photo.
-
Hyperlink it to the listing’s page on the Agency website.

c. Add listing details in the text area using this format:
-
Headline – Subheading 3, Red
-
(Blank line)
-
Street Address – Header 3
-
City or Neighborhood – Header 3
-
(Blank line)
-
Price – Subheading 3, Black
-
Stats – Subheading 3, Black
-
(Blank line)
-
Request A Private Showing – Fine Print, Bold + Underline, Red
-
(Optional: hyperlink to your agent page)
-
4. Final Steps
-
Compare your new custom panel with any default synced panels to ensure formatting consistency.
-
Delete any unused property panels.
-
Save your email.

✅ You're all set! You’ve successfully created a custom property email in ActivePipe.

